Tuesday, March 7, 2017

Letter Writing Ideas

Do you want to keep the art of writing letters alive, but aren’t sure where to start? Writing letters was
much more common before phones, and especially before social media. Sitting down to write about the updates in your life seems daunting when you can instead pick up the phone or send a message on Facebook. Luckily, those aren’t the only types of letters you can write. Today we’re presenting some great ideas for letter writing!

1.      Write a letter to someone you admire. This may be an author, a celebrity, a former teacher…anyone you can think of! Express your admiration and why they inspire you. You may not get a response, but it’s not impossible!

2.      Write to a child. This can be a family member or a friend. Kids are delighted to get something in the mail addressed just to them. It can be a funny letter filled with jokes, a letter asking about how they are doing…anything you like!

3.      Write a letter with updates on your life to a grandparent. Letter writing was more common for them, so they’re sure to appreciate a handwritten letter from you.

4.      Write a letter to a friend with a small gift inside. If they’re a reader, send a bookmark. Do they scrapbook? Send some stickers. If they love coffee, send a small gift card so their next drink is on you. It’ll be a big surprise and it’s a great way to keep a friendship thriving.

5.      Write to someone who lives far away, whether this is across the country or across the world. This is a particularly good idea if it is a recent move and your friend/family member may be lonely.

6.      Send a recipe to a friend or family member. If you had someone over who raved about one your dishes, send them the instructions, your personal tips, and a quick note saying you’re glad they liked the food.

7.      Send a thank you note to someone thanking them for a service they provided or a gift they gave you. People often expect these after events such as weddings or baby showers, but do it for something simpler. They won’t be expecting it!

8.      Write someone a letter giving them advice. If you’re a mother, write to a new mother giving your advice and insight. If you’re a recent college graduate, write to someone still in school about your experiences, and what you advise they do before they graduate. Advice is precious, and this is a great way to offer it.

9.      Write a letter to yourself. Maybe you open it in a year, maybe in a month. Use the letter to describe your life as it is and your current goals. When you read the letter you’ll be able to see the progress you have made. It’s a great way to keep yourself motivated.

10.   Write a letter to your significant other describing why you love and appreciate them. When you have been with someone a few years, the romance can start to fade. This is natural. Your partner becomes a part of your everyday life, and you have your own life away from them. Writing them a love letter can spark some of that romance and remind both of you why you fell in love.

Friday, February 3, 2017

Use Snail Mail This Valentine’s Day

Valentine’s Day is a very special day for couples. It often involves flowers, chocolates, cards, fancy dinners, and anything else romantic you can think of. But there’s nothing terribly romantic about email and text. Instead, why not go traditional and use snail mail to get your point across? Love letters have been used throughout history to make grand expressions, but you can use snail mail for more than just that this Valentine’s Day. Read on to find some ways to use the mail to deliver great, fun, romantic gifts this year.

Make Your Own Card

Buying cards can be very expensive, and making them is more heartfelt anyway! A simple Google search will give you tons of ideas to help you make your own creative cards. They may be as simple as you folding some paper and writing a sweet message, or complex involving paint, glitter, 3D effects, and more. No matter how you make your card, send it through the mail so your partner can have a nice surprise on Valentine’s Day.

Make Vouchers To Mail

This is also a great option if you’re on a budget. Making vouchers is fun and really lets your creativity shine. You can make all sorts of vouchers for your significant other. One example is a voucher offering to do their dishes or laundry. Other examples can include date nights, letting them pick the Friday night movie, and more. Make these vouchers on fun, Valentine’s Day themed paper to really make them stand out.

Mail A Love Letter

Love letters are classic for a reason. They’re romantic. Writing a love letter means sitting down with a pen and paper and really thinking about your relationship. What makes it special? Why do you love this person? The longer you are with someone, the less likely you are to craft these exquisite letters. So take some time, sit down, really think about why you love your significant other, and write it down. They’ll be so surprised to get a long, romantic letter in the mail from you.

Send A Gift In The Mail

Everyone loves getting packages, and getting a gift in the mail from you will surprise and delight your partner. This is a great idea in particular if you aren’t planning to buy flowers or chocolate. It can be tricky to time this one, so coordinate with your local post office. And if it arrives a day or two early, that just makes it even more of a surprise!

Buy Valentine’s Day Themed Packaging

If you are planning to send you gift via mail, take it a step further by investing in Valentine’s Day themed packaging materials. This is another way to really let your creativity shine. You can find red and pink boxes online, and even boxes specifically designed for Valentine’s Day. Take a look around and find something you like…or more accurate, that your partner will like.


We hope these ideas will help make this Valentine’s Day extra special! 

Monday, January 23, 2017

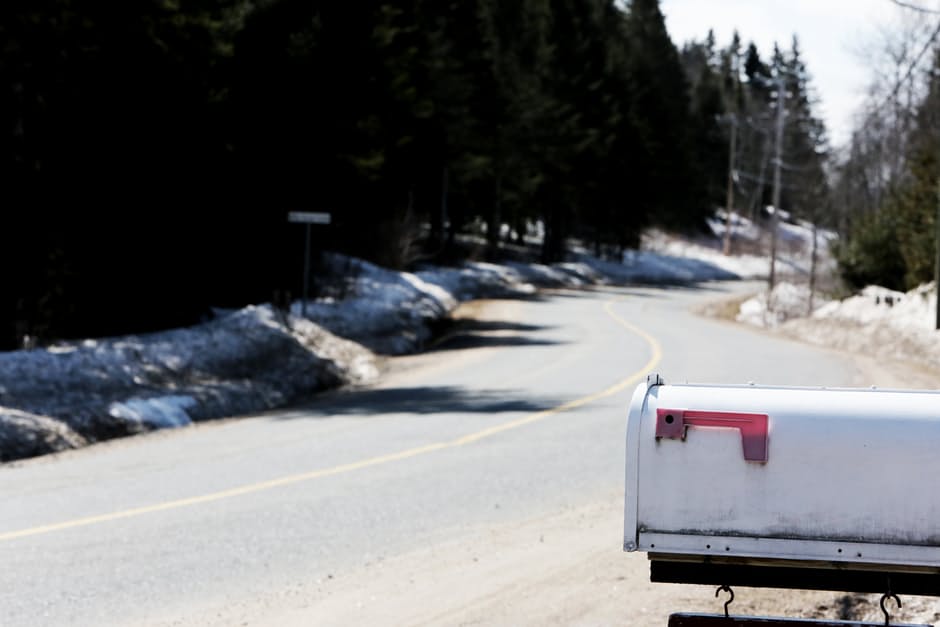
Winter Mailbox Protection


We’re right in the middle of winter, meaning snow, ice, and snowplows. Is your mailbox safe from all of these dangers? We’re here to give you a few tips to keep those mailboxes safe.

1.      Clear the snow away from your mailbox. This is not only helpful to the letter carriers delivering your mail, but for incoming cars and snowplows. If your mailbox is located on the street, snow alongside your mailbox will be kicked up into your mailbox. Keeping your street clear will reduce the amount of snow hitting your mailbox.
2.      Place reflective tape on your mailbox. This will make it easier for people, including those driving the snowplows, to see it. This will significantly reduce the chances of your mailbox being hit by a plow or vehicle.
3.      Check to see how securely your mailbox is mounted. With the ground frozen it may be too late to make adjustments to the post, but you can make sure the mailbox itself is mounted securely to the post. This will also help prevent it from taking great damage.
4.      If you have a warm spell and are able to do so, move your mailbox as far away from the road as possible. You must of course adhere to USPS standards, but the more distance between your mailbox and the street the better your chances of no mailbox fatalities.
5.      Keep the mailbox itself clear of snow. If the top of your mailbox is covered in snow, it’s going to be difficult to see. This goes hand in hand with tip number two. You want to do everything you can to make sure your mailbox is visible.

None of these tips are, of course, perfect. Accidents do still happen. While there are specially designed mailboxes created to reduce the risk of snow plows, they can be very expensive and even though don’t guarantee your mailbox won’t be damaged or destroyed. But take heart, because the end of January approaches which means spring, and no more snow, is on the way. 

Monday, December 5, 2016

Give Your Child a Letter From Santa

Christmas is a magical time of year, especially for children. You can make Christmas even more
magical by giving your child a letter from Santa!

The Letters From Santa program by the USPS allows your children to get a personalized response from Santa, including a postmark from the North Pole. You don’t want to wait too long to make this magical holiday memory though, because the deadline is coming up. All letters must be received by December 15th, so you want to get those letters out ideally by the end of this week.

So, how does it work exactly?

First, have your child write their letter to Santa. You’ll want to have them address their letter to “Santa Claus, North Pole.”

Next, open the letter when you are alone and read the letter. Now is when the response comes in. Write a personal response to your child’s letter. This response should directly respond to the content of your child’s letter. It’s also a good idea to highlight some of your child’s accomplishments in the letter, such as good grades or how they help around the house. If you’re worried they will recognize your handwriting, ask another family member or a friend to re-write the response for you.

Put this response letter in an envelope and address it to your child, with the return address reading “Santa Claus, North Pole”. Don’t forget to add a stamp, preferably a Christmas one.

Now you need to place this response letter into a larger envelope, along with the correct postage, and address it to:

North Pole Postmark
Postmaster
4141 Postmark Drive
Anchorage, AK 99530-9998.

Please remember that your child’s letter must arrive in Alaska by the 15th to guarantee a response!

The look on your child’s face will be priceless when they see the envelope addressed to them from Santa. So what are you waiting for? Remind your child to write their letter to Santa so you can get working on that response for them!

Friday, November 11, 2016

Tips for Wedding Invitations

You likely use the USPS for many important reasons, but few are as important as your wedding invitations. But wedding invitations are often more complicated than sending a standard letter, which is why we want to bring you some tips to make sure you get your wedding invitations sent off without a hitch.

1.      Before you stuff all those envelopes and mail them, take one to the post office and have it weighed. Wedding invitations are often heavier than one ounce, which means your postage will be higher. Your postage will also likely increase if your invitation is not a standard size. This means if you are sending square invitations, oddly shaped items, etc, then you will get charged an extra $0.22 per invitation. Take this into account when choosing your invitations and make sure to have the correct postage before mailing.

2.      There can be as many or as few pieces of your invitation that you want. One piece that will always be included is the invitation itself. This explains the event, the location, the date, and the time. Everything after this is optional. Response cards are common, as they are an easy way to receive your RSVPs. Enclosure cards are also popular. These give details regarding other aspects of your wedding, such as information about the reception, accommodations, directions, and any other information you want guests to know. If you’re trying to save money, skip both of these extras. Instead provide guests with a link to your wedding website and have all the information available there.

3.      Many arguments can be made about if you should send Save the Dates, and when you should send out invitations. Looking for a more general rule of thumb? Send out Save the Dates 6-12 months before the wedding. Earlier is better for destination weddings or guests who are coming from out of the country. Send your invitations 4-12 weeks before the wedding. Again, the sooner you send them, the more time you have to get your RSVPs. Don’t wait until the last minute and cause unnecessary stress!

4.      There are many “rules” about addressing your envelopes. Our only rule is this; make sure all information is correct before mailing out invitations.

5.      Don’t just drop off your invitations in any mailbox, take them to the post office. When you go in, ask them to hand-cancel your mail. This means your invitations will be sorted by hand, instead of going through a machine where they can get damaged.

These are just a few tips to get you on the right track when it comes to sending your wedding invitations. Congratulations on your engagement! 

Tuesday, September 6, 2016

Tools of the Trade

Have you recently been inspired to start writing letters? But are you also intimidated by the letter
writing tips you’ve found on Pinterest? While you can certainly strive to create beautiful letters like you see online, if you’re just starting this new hobby you have to remember it takes practice. We’ve put together a list of supplies you’ll want to have on-hand if you want to take up the habit of writing letters.

1.      Stationary. There’s thousands and thousands of options out there when it comes to stationary. Choose one that you send all the time, giving your letters a signature look. Or choose different types so you can change it up based on the person, occasion, and season. Stationary will make your letters stand out, plus it’s more fun to use than plain paper.
2.      Pens. It may be obvious, but there’s many types of pens you can choose from. Want to keep it simple? Go for black. Want something more eye-catching? Write in a different color. Maybe you want to learn to use a fountain pen, which will give your letters a more elegant appearance. Invest in some high-quality pens specifically for letters!
3.      Stickers. If you’re looking for an easy way to dress up your letters and envelopes, stickers are a cheap and easy way to do that. There’s tons of options out there to choose from. Just make sure you don’t block the address or the return address.
4.      Stamps. Stamps are another easy way to dress up your letters and envelopes. Like stickers, you can find tons of options at your local craft store or online.
5.      A letter opener. If you’re going to be sending a lot of letters, you’re going to start receiving a lot of letters as well. You’ll want to have a tool to make it easy to open those letters without destroying the envelopes. Maybe this is to keep the return address safe, maybe it’s because a lot of work went into the envelope. No matter the reason, you should plan to invest in a letter opener.

These simple items will help you get started when it comes to letter writing!

Friday, August 5, 2016

The Start of a Penpalship


So, you have a new penpal. You’re ready to send your first letter and excited to get to know this new person. But the big question, especially if this is your first time writing to a penpal, is how to start.

Penning your first letter to a penpal can be an overwhelming experience. You want to introduce yourself, but you don’t want to sound self-centered. You want to talk about your interests, but you don’t want it to get boring. Today we’re going to give you a few tips to write a great first letter!

First off, don’t overwhelm your new friend by giving them every detail about your life. When you meet someone new in real life, you don’t get into very asinine details such as your favorite color, the name of your first pet, or your favorite high school memory. Treat your letter like the first meeting with a potential friend. Tell them about your hobbies and interests. Your job or school. Where you live. Just make such not to give too many details, or they have nothing else to learn about you!

Once you have these personal details out of the way, talk about what inspired you to find a penpal. It’s not an activity everyone participates in, but you and your penpal do! It is one thing you already have in common, so acknowledge it. Discuss why you were drawn to it. Ask if your new friend has had a penpal before.

Don’t make the letter all about you. Make sure you ask some questions too! A letter should feel like a conversation. Ask about their life (but keep it general, not too personal). You may ask what they do, what their interests are, their favorite movies or books, etc. If you already know about something you have in common, ask some more specific questions about that. You have to give them something to respond to as well.

It’s also a good idea, at some point in the letter but generally the beginning, to mention where you got this person’s information. This is simply polite and we highly encourage you to include this in your letter.

For the first letter, don’t make it too long. A page or two is sufficient for an introduction. And, this is important, don’t make them feel obligated to write back. You don’t want to make this person uncomfortable. The goal of course is that they do write you, but pressuring them into it isn’t going to do you any favors.

That’s it! You’re ready to reach out to a new potential friend. Good luck!